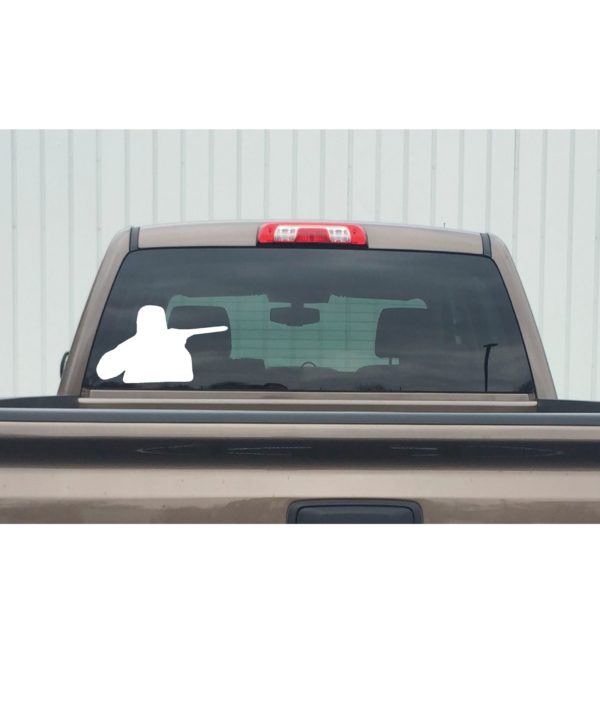
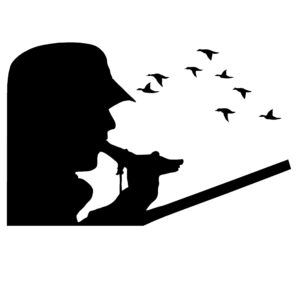
Shooting Hunter Decal – Shooting Hunter Sticker – 3517
Hunters & Gun Decals$4.70 – $7.20
Description
Shooting Hunter Decal – Shooting Hunter Sticker – 3517
Sizes:
Small 8″x 4″
Medium 12″x 7″
Available in White, Black and Chrome.
Additional charges include $1.50 for Chrome and $1.00 for Medium size.
Establishment Guidelines
Surface Readiness: before decal establishment all surfaces must be cleaned and liberated from remote material. For glass and solidified plastics – Clean surface with a cleaner . For metals – Clean surface with a dissolvable like naphtha or polish more slender. Dry the surface with a build up free fabric before the dissolvable dissipates. Permit newly painted surfaces 3 weeks of fix time to off-gas before applying vinyl.
Establishment Temperature: make sure that the surface and air temperature is above 10° Celsius. Moistness above 90% can likewise keep decals from following appropriately.
Materials Required: Decal, squeegee, veiling paper , blade or scissors, discretionary liquid (light lathery water) for mammoth decals, tape .
Your decal will are accessible 3 layers:
- move tape
- vinyl decal
- wax backing paper
Establishment Directions:
1) Clean and found out the surface as portrayed previously. make sure that your decal fits the planet by holding your decal against the surface. On the off chance that essential, utilize a tape to make sure the decal is that the place you’d like it .
2) Holding the decal where you would possibly want it introduced, safely tape it to the surface at the halfway point either on A level plane or vertically. (For this example we picked somewhat not exactly most of the way on account of the arranging of this particular decal). counting on your decal size you’ll got the chance to tape the decal at the corners or utilize 2 bits of tape at the middle . the middle bits of tape will become your pivot point.
3) From absolute bottom (or top) corner of the decal, tenderly strip the exchange tape and decal away from the wax backing paper. Strip decal at a foothold more noteworthy than 160° until you reach the pivot point. Utilizing your blade, delicately cut the wax backing paper along the pivot point. Evacuate yet spare this piece paper .
4) just in case you’re utilizing an application liquid, now softly splash the essential an outsized portion of the surface where the decal is to be introduced.
5) While keeping the decal instructed with one hand, delicately utilize the squeegee to press the decal to the surface. Start at the hing point and work your way towards the external edges.
6) Rehash stages 3-5 for the contrary an outsized portion of the decal.
7) Utilizing the squeegee, extending from the focus of the decal towards the surface , expel any staying fluid, air pockets or wrinkles.
8) Beginning at the corner, strip the foremost elevated layer concealing paper away from the surface, again it’s ideal to aim to the present at some extent more noteworthy than 160°. within the event that any vinyl doesn’t stick with the surface delicately place it backtrack with the veiling and press it during more.
9) within the event that you simply notice any air pockets or wrinkles utilize the paper (spared from prior) lay it on the decal and utilize the squeegee to squeeze bubbles and wrinkles out. The paper keeps your decal from being damaged. within the event that air bubbles remain you’ll utilize alittle pin to pop them and press the influenced region to the surface.
Additional information
| Weight | 0.2 lbs |
|---|---|
| Size | Medium, Small |
| Color |
Related products
-

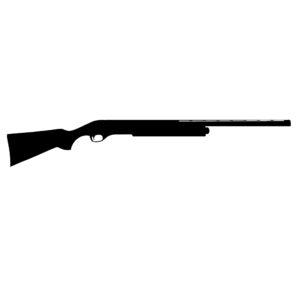
Shotgun Remington Decal –...
$3.00 – $5.50Shotgun Remington Decal – Hunting Sticker – 1100 Shotgun 1100 – Remington 1100 Shotgun Decal Sizes: Small 6″x 1″ Medium 10″x 1.5″ Available in White, Black and Chrome. Additional charges include $1.50 for Chrome and $1.00 for Medium size. With the largest selection of outdoor related decals, here at WaterfowlDecals we are sure to have […]
-

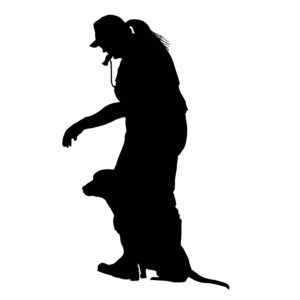
Hunting Labrador Retriever w/F...
$3.99 – $6.49Hunting Labrador Retriever w/Female Back Decal – Female Hunter with Lab Retriever Back Sticker – 3533F
-

Call Em’ In Waterfowl Hu...
$4.20 – $6.70Call Em’ In Waterfowl Hunting Decal – Hunting Sticker – 8001 Sizes: Small 6″x 4″ Medium 8″x 5″ Available in White, Black and Chrome. Call Em’ In Waterfowl Hunting Decal – Hunting Sticker – 8001 Additional charges include $1.50 for Chrome and $1.00 for Medium size. Very Popular for Board Games – Corn hole Boards! […]
